How To Create Cloud Moving Jumping Text Status: Friends you get to learn some new video editing every time you go to this blog of ours. You all know this. So, once again, you have come up with a new video editing post. Today’s post on how to Create Cloud Moving Jumping Text Status will create a brand new status video today.
Highlights of today’s video:
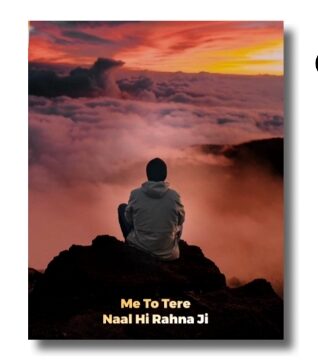
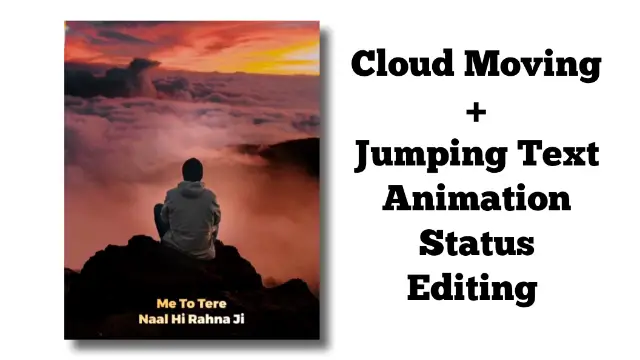
First of all, Let me tell you about the main point of video editing today. So in our video editing today, we’ll write a video that will see the clouds moving, as well as we’re going to put jumping Effect in Isle Lyrics
- Also Read:
- Photo Overlay Birthday Video Editing
So the editing of today is going to make it very beautiful. If you want to put your photo in it, you can also put it.
So how will you do all this video editing now? How do your photo at the same time? All these things I will tell you in this article the steps by steps. So, you will read all the steps carefully.
How To Create Cloud Moving Jumping Text Status:
So if you want to edit this video with a cloud video, I’ll get that video in this post. At the same time, you also tell you the steps that you have to follow.
How To Create Cloud Moving Jumping Text Status Step By Step:
Steps 1
Open the Alight Motion application on your mobile phone, then select 4: 5 ratios and click on the Create Project button.
Step 2
Now you need to import cloud Moving videos into this empty Project. Now if you want to edit the video with your photo, you will import your photo instead of the video.
Step 3
Now, first of all, we can take a photo/Video. Will add effects to the video. If you have imported your photo before you add effects, make it 30 seconds. Then click on the image layer and click on the effect option and click on the added effect.
Steps 4
Now you will see a new page that will show many Effect Categories, from which you need to select swing Effect by clicking Move/Transform Effect pay. After selecting the effect, you need to make some settings which are as follows.
- Frequency : 0 . 30 Hz
- Angle 1: -4
- Angle 2: +4
Steps 5
Now you need to import the song into this project, click on the + icon to click on Audio Pay, and select the song you like.
Step 6
Now you have to write whatever song rings after listening to the song and mix all the lyrics layer with the song. Then all of the Text layers will add Jumping Effect which is as follows.
Step 7
Click on the first Text layer, then click the move/transform option. Now hide the lyrics under the frame at the beginning. Then click “+” on the diamond. 0.0 2 seconds come forward and drag the Text layer up.
Step 8
Now leave the last of the Text layer, click “+” diamond by 0.0 2 seconds ahead of the last drop, then leave the last and hide the Text again under the frame.
Steps 9
Now you have to come in the middle of this layer, then go to the Easing Animation option and add the second number effect to elastic Animation. That will lead to jumping Animation add to Text.
Step 10
Now you need to follow steps 8 and step 9 in all text layers, then export the video.
Conclusion:
So friends hope you all liked our today’s post How To Create Cloud Moving Jumping Text Status. If you have any questions related to this post, you must tell us by a comment I will Try To Reply to You As soon as Possible.
All Materials
You Can Use This Materials For Practice Purposes only for this Tutorial
Download NowThank You For Reading My Article
—————————————-

1 thought on “How To Create Cloud Moving Jumping Text Status”