Monsoon Special Status Editing | Learn Editing | Status Editing: So how are you guys? Monsoon is coming soon, so I wondered why not Monsoon Special Status Edit one. So in today’s post-Monsoon Special Status Editing, I’m going to teach you to Monsoon Status Video Edit a different level.
Well, these will be the easiest Alight Motion Editing ever. You all know that it takes a little more effort to edit Alight Motion than Kinemaster. But believe me, today’s videos are going to be very easy.
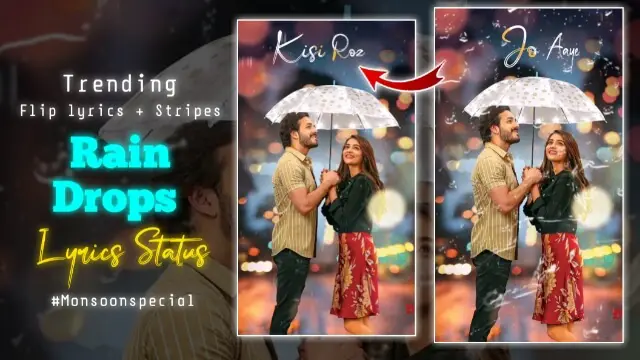
Monsoon Special Status Editing | Learn Editing | Status Editing
So to edit this video you need a romantic Song associated with rain and a Rain Drops Black Screen video. There is no need to worry even if you don’t have either of these. I’ll provide you with everything at the end of this post.
So let’s start today’s post without losing much time Monsoon Special Status Editing.
Monsoon Special Status Editing | Learn Editing | Status Editing: Required Steps:
- Alight Motion Application
- Rain Drops Black Screen
- Background Image
- Monsoon Song
Monsoon Special Status Editing | Learn Editing | Status Editing: Topic Covered:
- Monsoon Status Editing
- Alight Motion Editing
- Status Editing
- Learn Editing
- Video Editing
- Lyrics Status Editing
- Video Editing Software
Monsoon Special Status Editing | Learn Editing | Status Editing: Step By Step:
Steps 1
Open Alight Motion Application on your mobile phone.
Steps 2
create an Empty project with 9:16.
Steps 3
Now you have to Import the Background image in this Empty project.
Steps 4
You then have to import the Rain Drops Black Screen into this project and go to Blanding Opacity Option and select Screen Option in the Lighten Effect.
Steps 5
Then you have to Import the song you want to make a status video on.
Steps 6
Now you have to listen to the song Play and write down the first line of the Lyrics.
Steps 7
After writing Lyrics, you have to select any one Font and set the size.
Steps 8
Now you have to click on the Lyrics layer and go to the Move And Transform option and hide the Lyrics on the Left side.
Steps 9
Then click on the “+” icon and go to the middle of the Lyrics layer and bring the Lyrics to the frame.
Steps 10
Now you have to go to the End Point of the Lyrics and hide the Lyrics on the Right side.
Steps 11
Now that you want to Effect Add in this Lyrics layer, you have to go to the XML Preset project to add the effect and copy the Lyrics Layer Effect of that project to paste you in the Lyrics layer of your Project.
Steps 12
Now your first Lyrics layer is ready. Then you have to layer this layer Copy and paste it in all the next Lyrics and Edit according to your song.
Conclusion:
So, friends, I hope you all liked our post-monsoon Special Status Editing today, if you have any questions or suggestions related to this post, please comment and tell us.
All Materials
Image And Videos
You can use this materials for only practise propose of This Tutorial
Download NowThank You For Reading My Article

Kadkk video
Link send me bro
Nyc
Bhai Fount kaise add karne ka Alight motion me
All material