Music Player Frame Status Editing | Status Editing | Learn Editing: So how are you all friends? Welcome to our blog. Today I’m going to teach you to edit a new kind of status video through this post. Well friends, all of you know, I keep bringing regular editing posts to my blog. So even today I’m present with a new Editing post.
Friends, today’s post Music Player Frame Status Editing is going to be a different kind of Frame video in which you can make a video by Import your photo.
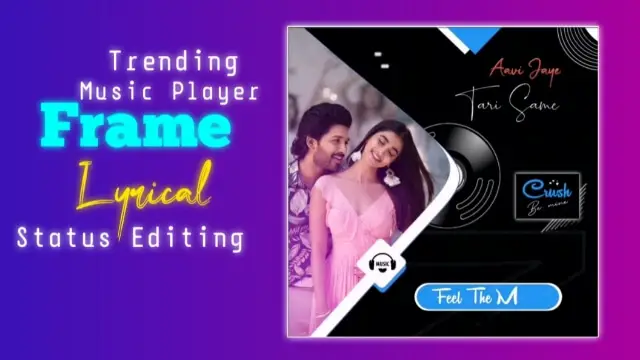
Music Player Frame Status Editing | Status Editing | Learn Editing
In this video, you can make videos like you have added your image to a Music Player. Which will be liked by all of you. So let’s start today’s post now.
Music Player Frame Status Editing | Status Editing | Learn Editing: Essential Steps:
- Alight Motion Application
- Frame Image
- Overlay Video
- Lyrics Video
Music Player Frame Status Editing | Status Editing | Learn Editing: Topic Covered:
- Alight Motion Tutorial
- Status Editing
- Learn Editing
- Instagram Reels Editing
- Lyrical Video Editing
- Video Editing
- Love Status Editing
Music Player Frame Status Editing | Status Editing | Learn Editing: Step By Step:
Steps 1
Open Alight Motion Application on your mobile phone.
Steps 2
Now you have to open a ratio project of 1:1.
Steps 3
You now have to add a Blue-Green image to this project.
Steps 4
You then have to add your image and place the image at the back of this image.
Steps 5
Now you have to click on Blue Green image and click on Effect and Add Chroma Key Effect.
Steps 7
Then set the back image correctly. Then add Overlay video to the project, set up your image to the effect, and add Lighten Effect by clicking on Blending Opacity.
Steps 8
You then have to export this video.
Steps 9
After the video is Export, you have to open a new 1:1 project and Import the video that you just exported.
Steps 10
After importing the video, you have to import the image Black background and put it behind this video.
Steps 11
Now you have to set the Blue color by clicking on the video layer and adding the Chroma Key effect.
Steps 12
After doing this, you have to add a Lyrics video.
Steps 13
Set the Lyrics video correctly by going to the Move and Transform Option and select Lighten by going to the Blending option.
Steps 14
Now your video is ready Export it.
Conclusion:
So, friends, I hope you all liked our post Music Player Frame Status Editing if you had any questions or suggestions related to this post, please comment and tell us.
All Materials
You Can Use This Materials for Practice Only Of This Tutorial
Images And Video
Download NowXml Preset
Download NowThank You For Reading My Article
Comments
Post a Comment