Lofi-Remix Video Editing Kinemaster: Friends, welcome to all of you in this article. Today we will teach you how to edit Lofi remix videos in today’s article Lofi-Remix Video Editing. Right now such videos are going on trend in a lot of places, so if you also upload videos on any of your social media accounts by editing. So you also need this kind of video to edit and upload on your social media account.
By the way, you had a request from a lot of friends that I teach to edit such videos, then today through our article Lofi-Remix Video Editing Kinemaster, I will teach you to edit videos in a very easy way.
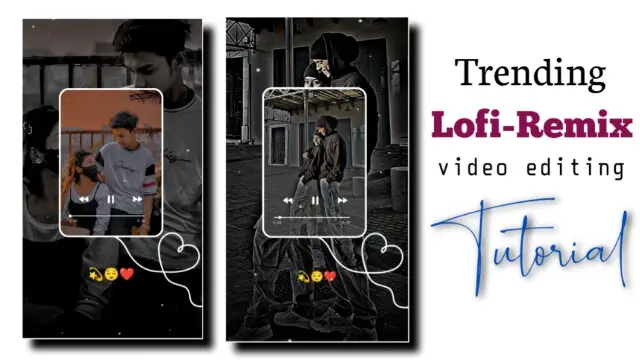
Lofi-Remix Video Editing Kinemaster
Although most people are taught to edit this video, most have been taught to make it with the Alight Motion application, which is also a bit difficult. But I will teach you to edit from KineMaster through this article and teach you to make it in a very simple way so that people who do not know how much to edit videos can also edit this video very quickly.
So if you also do not know much about video editing and you also want to edit videos like this, then this article is going to be very helpful for you.
Now before starting video editing in the article, we take a little information about which applications and what materials you will need to edit this video.
Lofi-Remix Video Editing Kinemaster: Applications and materials needed to edit videos.
- Kinemaster Application
- Particles Video
- Frame Image Png
Lofi-Remix Video Editing Kinemaster: Step By Step:
Steps 1
So to edit the video, you have to open the Kinemaster application on your mobile phone and after opening it, you have to open a new empty project below 9:16.
Steps 2
Now you have to select and add whatever photo you want to keep on the back side of the background in this project. After adding the photo, go to the option of Pan and Zoom and set the photo well in the entire frame.
Steps 3
Now you have to click on the photo take and turn on the right side vignette.
Steps 4
After this, you have to import the frame that I have given inside this project and set the layer of the structure in full screen and make the layer of the frame as long as you want to make the video.
Steps 5
Now you have to export this video and as the video is exported, then come out of this project and open another new project and select any one background inside that project and do the background of the length of the seconds of the video you exported earlier.
After that, the video that you have just exported inside this project has to be imported again.
Steps 6
Now you have to click on the video layer that you have imported and go to the option of Chroma on the right side and enable the Chroma key and select the green color in color so that the frame that was green color frame in the middle will be removed.
Steps 7
Now you have to import the same photo that you have put on the back of this project and after importing the photo, click on the three dots option on the left side and send the image to the back.
After that, set the image well inside our green color removed.
Steps 8
Now if you have to add emoji, then click on the layer option, go to the tax option from there, take the tax option, then the keyboard you will have will open, after that type whatever emoji you have to add there.
Steps 9
Now you have to add the song inside this project, then go to the audio option to add the song and whatever song you want to add to this project or set the song you want to give to this video.
With this, your video will be ready, then export the video.
I hope you all liked today’s article Lofi-Remix Video Editing Kinemaster. If you have any questions or suggestions related to this article Lofi-Remix Video Editing Kinemaster, then you must tell us by commenting.
Subscribe To Us On YouTube.
All Materials.
Download NowThank You For Reading My Article.
