Water Effect Status Editing | Status Editing | Learn Editing: So friends I’ll be present again today by taking another new video editing post. Today I will teach you how to make a very great Water Effect Status Editing. Such videos are currently going viral on Instagram. So if you also upload Reels Video on Instagram, you must make and upload this video.
So if you also want to make Water Effect Status on Instagram Reels, please read this post and follow whatever steps I tell you, you will edit the video very easily.
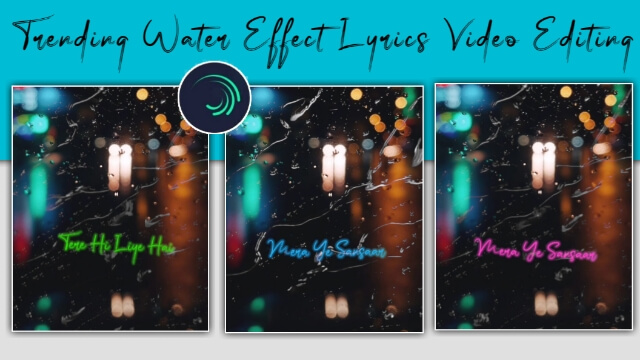
Water Effect Status Editing | Status Editing | Learn Editing
So you need to Alight Motion Application to edit this video of today. So if you don’t have the Alight Motion Application, install it with Play Store and then follow all the steps mentioned below.
Water Effect Status Editing: Essential Steps:
- Alight Motion Application
- Water Effect Video
- Blur Background Image
- XML Preset
Water Effect Status Editing: Topic Covered:
- Alight Motion Editing
- Status Editing
- Learn Editing
- Instagram Reels Editing
- Video Editing Tutorial
Water Effect Status Editing Step By Steps:
Steps 1
Open the New Project by opening the Alight Motion on your mobile phone and selecting any one ratio.
Steps 2
Now add Blur Background image to this Empty Project.
Steps 3
After adding the image, you have to import any song you want to make a video on this project and take it forward for as long as you want to make the video and cut the song.
Steps 4
Then mix the Background image with the song.
Steps 5
Now you have to add a Water Effect video to this project.
Steps 6
Now you have to listen to the song and write down the first lyrics that play.
Steps 7
After writing the lyrics, you have to select the color Green of the Font.
Steps 8
Now you have to stay on the font layer and click on Effect to go to the additional effect and add the Glow Effect.
Steps 9
Now you have to go to Glow Effect Radius to 0.30 and select a Green color.
Steps 10
You then need to click on the effect again to go to the additional effect and add the HUE Shift effect and
Steps 11
Then import your XML Preset to your Alight Motion and copy that effect and Paste it to the lyrics layer of your project.
Steps 12
You then have to copy this Lyrics layer and paste it further where other lyrics start.
Steps 13
Now you have to edit the Lyrics and similarly write to the Lyrics throughout the video.
With this, your video will be ready.
Conclusion:
So, friends, I hope you liked our post Water Effect Status Editing today. If you have any questions or suggestions related to this post, please comment and tell us.
All Materials
You Can Use This Materials for practice propose of this Tutorial
Background Image and Water Video
Download NowXML Preset
Download NowThank You for Reading My Article

Nice hame bhnasikho