Mere College Ki Reels Editing | Learn Editing | Status Editing: So how are you all friends? After a long time, I am once again present with another new Editing post. Today’s video editing is going to be very popular for the student who is going to College. Friends, Today I will teach you to edit shake effect video on Mere College Ki Aek ladki songs through this post-Mere College Ki Reels Editing.
Mere College Ki Reels Editing | Learn Editing | Status Editing
So let’s start our post-Mere College Ki Reels Editing today. Today’s video editing is going to take place from the Alight Motion Application. So if you don’t have the Alight Motion Application, you can install it easily with Play Store.
So first Install the Alight Motion Application on your mobile phone. Then you have to follow all the steps mentioned below.
Mere College Ki Reels Editing | Learn Editing | Status Editing: Essential Steps:
- Alight Motion Application
- MP3 Song
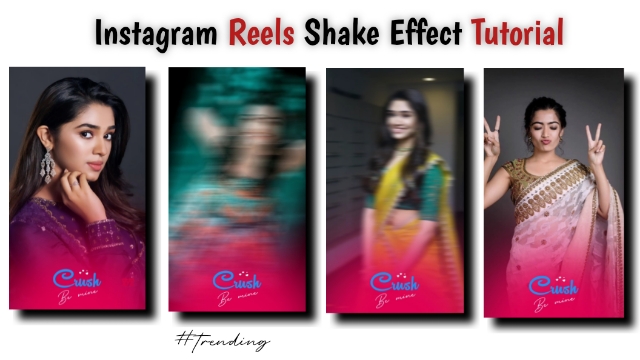
- Pink Png
- Crush Png
- XML Preset
Mere College Ki Reels Editing: Topic Covered:
- Alight Motion Editing
- Instagram Reels Editing
- Status Editing
- Learn Editing
- Shake Effect Tutorial
- Alight Motion XML Preset
Mere College Ki Reels Editing | Learn Editing | Status Editing: Step By Step:
Steps 1
Open Alight Motion Application on your mobile phone.
Steps 2
After you open the Application, you have to add the MP3 song.
Steps 3
After adding the song, you have to mark it according to the Beat of the Song, which is as follows.
00.07.21 , 00.08.04 , 00.08.18 , 00.09.00 , 00.09.13 , 00.09.25 , 00.10.08 , 00.10.21 , 00.11.24 , 00.12.22 , 00.13.11 , 00.14.16 , 00.14.28 , 00.15.10 , 00.16.06 , 00.16.19 , 00.17.01 , 00.17.28 .
Steps 4
After marking all, you have to add all the photos according to the mark and set all the photos with the mark.
Steps 5
Now that you have to add the effect to all photos, if I have given you a link to XML Preset to add the effect, you have to Import that Xml Preset to your Alight Motion.
Steps 6
Now you have to go to my XML Preset project and copy the Effect in the first image and go to your project and paste in the first image.
Steps 7
Then you have to go back to the XML Preset project and Copy the effect of the second image and go to your project and paste it in the next 7 images.
Steps 8
Then copy the next Effect and paste it into the next 4 images.
Steps 9
Similarly, paste the rest of the effects in the image of the rest of your project.
Steps 10
After adding the effect to all images, you have to add Pink Png to this project and increase its scale and set it to the lower part of the project.
Steps 11
Then you have to set up the Crush png and prolong both this Png throughout the video.
With this, your video will be ready, now you have to Export the video.
Conclusion:
So, friends, I hope you all liked our post-Mere College Ki Reels Editing today. If you have any questions or suggestions from this post, please comment to us.
All Materials
You Can Use This materials Only for practice propose of this tutorial
Mp3 Song and Png Images
Download NowXml Preset
Download Now
1 thought on “Mere College Ki Reels Editing | Learn Editing | Status Editing”