Disc Frame Birthday Video Edits | Learn Editing | Status Editing: So hello friends, I’ve come up with another new post. Today’s post is going to be about a Birthday video. Today in this post I am going to teach you a very brilliant Birthday video editing.
Our post-Disc Frame Birthday Video Edits is going to be a very different kind of Video editing. You need to edit your photo before making this video. Also, first of all, you have to create the image that Disc.
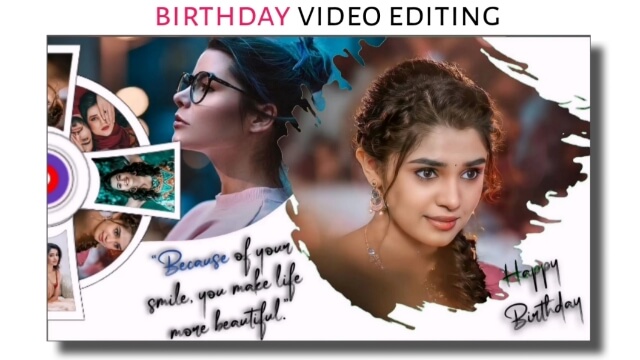
Disc Frame Birthday Video Edits | Learn Editing | Status Editing
So you have to Image Editing with Pixallab to Edit the image. For this, you need to Install Pixallab on your mobile phone, as well as Install the Alight Motion Application to Video Edit you.
Now you have to follow the steps mentioned below.
Disc Frame Birthday Video Edits | Learn Editing | Status Editing: Essential Steps:
- Pixallab Application
- Disc Materials
- Alight Motion Application
- Background Image
- XML Preset
Disc Frame Birthday Video Edits | Learn Editing | Status Editing: Topic Covered:
- Birthday Status
- happy birthday status
- birthday wishes in Hindi
- happy birthday wishes in Hindi
- happy birthday status in Hindi
- birthday status in Hindi
- learn editing
Disc Frame Birthday Video Edits | Learn Editing | Status Editing: Step By Step:
Steps 1:
First we’ll edit the photo so you have to open the Pixallab Application
Steps 2
Then click on the “+” icon and go to From Gallery and add Disc Materials.
Steps 3
Now you have to go to the Editing Option and click on Texture and add anyone image.
Steps 4
The image has to then be saved and eight different such images have to be created.
Steps 5
Now you have to create and save the entire disk with the help of the image you have created.
Steps 6
Then you have to open the Alight Motion Application.
Steps 7
You then have to open an Empty project with a ratio of 16:9 and add a Background image to it.
Steps 8
Now you have to import any one image and set the image below the background image.
Steps 9
Now you have to click on the Background image layer and click on the Effect and select the Chroma Key effect and select the Red Colour.
Steps 10
Then go to the XML Preset project and copy the effect of the first layer and paste it in the Effect of the image layer of your project.
Steps 11
Then import you to Audio song in this project. With this, your Birthday video will be ready.
Now you have to export the video.
Conclusion:
So, friends, I hope you all liked our post-Disc Frame Birthday Video Edits today.
If you have any questions or suggestions Disc Frame Birthday Video Edits our post, please comment and tell us.
All Materials
You can use this materials for practice propose only of this Tutorials
Images And Audio Sound
Download NowXml Preset
Download NowThank You For Reading My Article

Beautiful
What happened
Sorry tq
Bro I am not getting the disk material
why If You Find Blank Page After click on link then copy that blank page link from search bar and paste it in google
copy that blank page from search bar and paste it in google