Light Flair Status Editing | Rtf4: Hello friends, welcome to all of you to this blog of ours. Through today’s article Light Flair Status Editing, we are going to teach you great video editing. This will allow you to edit videos for any of your friends or relatives. If you also like to upload a video story to your social media account, you can still upload such videos by editing them.
So let’s first know what requirements you will have to edit this video. First of all, you will need the Kinemaster application to edit this video. You will also need some materials.
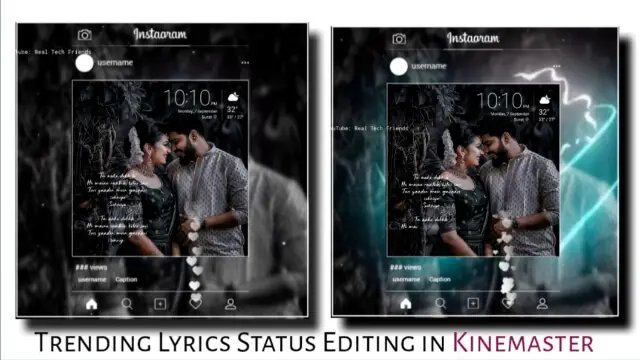
Light Flair Status Editing
You can install the Kinemaster application in the Play Store. At the same time, you will find the necessary applications for this video at the end of this article. So let’s start today’s article Light Flair Status Editing.
Even if you do not get much editing to edit this video, you do not need to worry, because you can edit the video very easily from the Kinemaster, and if you still have any problems, then in this article I will tell you to step by step what you have to do. So read this article in full.
So the materials and applications needed to edit this video are as follows.
Light Flair Status Editing: Materials and applications required to edit video.
- Kinemaster Application
- Light Flair Black Screen
- Insta Live Black Screen
- Drawing Lyrics Video
Light Flair Status Editing: Step By Step:
Steps 1
So first of all, open the Kinemaster application on your mobile and after opening, open a new project of 1:1.
Steps 2
Now you have to select any one of the backgrounds in this project. After adding the background, you have to increase the length of this background for as many seconds as you want to edit the video.
Steps 3
Now you have to add any one photo in this project on whose photo you want to edit this video, after adding the photo, you have to set the photo bigger in the whole frame.
Steps 4
Now you have to end the blur effect in the photo here, then for that, you have to go to the layer option, from the player option you will get to see the option of FX, click on it, then you will get to see the option of Blure there. Add it and then set that layer to your entire frame.
Steps 5
Now you have to add the Light Flair Black Screen video to this project, after adding the video, click on the video layer and go to the right side blending option, and set the screen effect.
Steps 6
Now you have to add an insta live black screen video to a project and then set this video in a good frame and send the right side blending option and make the screen effect.
Steps 7
Now click on the photo layer that you added and then click on the left side three dots option and make a duplicate of the image.
The duplicate layer that is made will make you like a box in the black screen that you just added to it, in that box you have to set the photo.
Steps 8
Now you have to add a lyrics video. And also send the blending option and select the screen effect.
Right now, in the lyrics video that you have added here, I have given the song, so you do not need to add any audio separately to it, with this, this video of yours has been made and ready, once you see it review, if the video is made well, then export the video.
I hope you all liked today’s article light flair status editing, if you have any questions related to this article, then you must comment and tell us.
Subscribe To Us On YouTube.
All Materials.
Download NowThank You For Reading My Article.
