Ganpati 3D Status Editing | Learn Editing: So friends welcome all of you to our blog. Today I’ve come up with another new blog post for all of you. Friends Ganesh Chaturthi is coming very soon. So in our post-Ganpati 3D Status Editing today, we are going to edit the status video for Ganesh Chaturthi.
Friends Ganesh Chaturthi is everyone’s favorite festival. Ganapati is the beloved God of all. So today we are going to Edit a very attractive video for our beloved Ganpati.
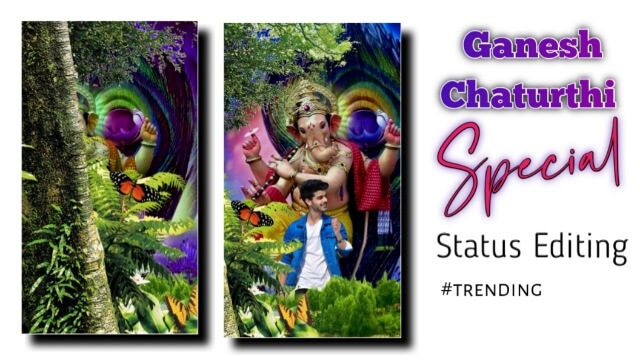
Ganpati 3D Status Editing | Learn Editing
So friends, if you also want to Edit a new kind of video for Ganesh Chaturthi, definitely read this post till the end and follow all the steps mentioned. Even if you don’t know much about video editing, you can easily Edit videos with the steps I’ve mentioned.
So let’s start our post-Ganpati 3D Status Editing today, not losing much time now.
Ganpati 3D Status Editing | Learn Editing: Essential Steps
- Kinemaster Application
- Tree Image
- Grass Image
- Ganpati Image
Ganpati 3D Status Editing | Learn Editing: Topic Covered:
- Kinemasaer Video Editing
- Status Editing
- Learn Editing
- Ganpati Status Video Editing
- Kinemaster Video Editor
- Editing Tutorial
Ganpati 3D Status Editing | Learn Editing: Step By Step:
Steps 1
In today’s video, we are going to Edit from Kinemaster Application. So if you don’t have Kinemaster Application, Install it with Play Store.
After Install Kinemaster, you have to open it and open a new Empty project with 9:16.
Steps 2
Now you have to import the background of black color by going to the media option in this project and increase the length by as many seconds as you want to make the video.
Steps 3
The project then has to import Ganpati’s image and merge it with the length of the Background image.
Steps 4
Now you have to click on Ganpati Image Layer to come to the start position and click on the Key option of Left Side and go to End Position and slide the Image.
Steps 5
Now you have to import your image to this project but Background Remove the image before adding the image and then add the image.
Steps 6
Now you have to Import the Grass image in this project and set it to the bottom of the Project.
Steps 7
You then have to import Tree Image into this project and put this image Key Animation.
This time you have to put the image from the big to the smallest Animation.
Steps 8
Now you have to select the song by clicking on the Option of the Audio to add any song you want to add to this project
Now your video will be ready. Now if you watch the preview of the video and everything is right, Export the video.
BEAT MARK:
00.00.470, 00.02.280, 00.03.730, 00.05.280, 00.06.670, 00.08.220, 00.09.750, 00.11.280, 00.12.740
Conclusion:
So, friends, I hope you all liked our post-Ganpati 3D Status Editing today. If you have any questions or suggestions related to this article, please comment and tell us.
Subscribe Us To On YouTube.
All Materials:
You can use These Materials For Practice Propose Only Of This Tutorial.
Download NowThank You For Reading My Article.

I Like All Materials