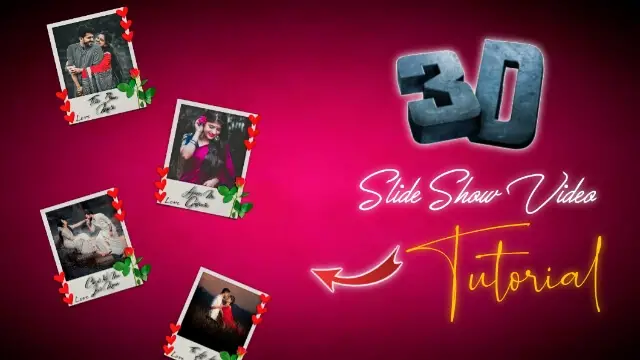
3D Gallery Slide Show Video Editing: Hi friends how are you all hoping you all got very good and today we are going to learn another new video editing in this article. Friends, today’s article 3D Gallery Slide Show Video Editing is going to learn 3D image moving video editing through 3D Gallery Slide Show Video Editing. In a very easy way, I am going to tell you in this article so that you will not have any problems editing this video.
Especially for those who do not do much video editing and want to edit a good video, then today’s article is going to be very helpful for you.
By the way, you can also give this video a professional look, but to edit that kind of video, you will have to work a little harder, and as I told you, especially for those who do not do much video editing, it may be a difficult thing.

So today we will make the same video in a very easy way, but maybe we will make a little change in it, due to which you will get to see a little less of the 3D look in the photo, but those who do not know anything about video editing will be able to edit this video very easily. And believe me, you will not get to see much difference between this video and that video.
3D Gallery Slide Show Video Editing
So now we talk about video editing, to edit this video, you have to read this article in full, as well as you will have some applications and materials.
So let’s first get information about the material and application required for video editing of this article 3D Gallery Slide Show Video Editing.
3D Gallery Slide Show Video Editing: Applications and materials needed to edit videos.
- Pixallab Application
- Alight Motion Application
- Frame Png
- Background Image
3D Gallery Slide Show Video Editing: Step By Step:
Steps 1
So we first have to edit our photo to edit the video, then we have to open the Pixallab application to edit the photo.
Steps 2
Now you have to click on the image size option here and make the image size 720 * 2560.
Steps 3
After this, you have to import the background image I have given in this application.

Steps 4
After this, I have given you a frame PNG, you have to import it and its size will be very big, whose size you have to reduce and set it on the top.
Steps 5
After that you have to image 6 to 7 copies of that frame, all of them have to be set you down one by one.
Steps 6
Now you have to add your photo to this project with as many different images as you have copied, after adding, you have to set different photos well in all the different frames or keep the back side of the set, for this, after setting the image well, send to back.
Steps 7
Now write a lyric on all the images you have made, then listen to the song on whichever song you want to make this video, and write one lyric on each photo.
Steps 8
Now you have to save this image.
Steps 9
After this, you open the Alight Motion Application and after opening it, open a 4:5 new project.
Steps 10
In that project, you first have to add the background image that I have given you with the material, then import the image you just created.
Steps 11
After this, you have to add the song to this project, on which you have written the lyrics, then add that song, to add the song, you have to select the song by clicking on Plus Kya Kam and going to the audio option.
Steps 12
Now you have to click on the image that is created with the frame, go to the end transfer option, and then slide the image upwards in the same way as the lyrics play.
Steps 13
Now your video will be ready, you have to see the preview of the video once, if the perfect things are made, then make a call to the video.
So I hope you all liked today’s article 3D Gallery Slide Show Video Editing, and if you have any questions related to this article or suggestions, then you must tell us by commenting.
Subscribe To Us On YouTube.
All Materials.
Download NowThank You For Reading My Article.
Comments
Post a Comment