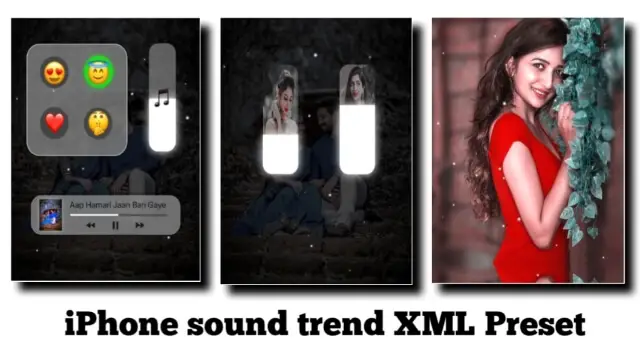
Insta Volume Bar Video Editing – Rtf1: Hello friends, right now volume bar videos on Instagram are very much trending. A lot of people are making this video and their videos are also going viral. So if you also want to edit a video like this, then I will tell you the process of how you will edit it.
Insta Volume Bar Video Editing
By the way, editing this video is quite challenging but I will tell you a very easy way here. I have given you the Alight Motion Video XML Preset in this Insta Volume Bar Video Editing article. In which you have to add your photo, with the help of which you will be able to make such a video very easily.

So as I told you, to edit this video, you will need an XML preset as well as you will need some materials that are mentioned below.
Insta Volume Bar Video Editing – Rtf1: Applications and materials required to edit the video:
- Alight Motion Application
- XML Preset
- Particles Video
- Audio Sound
Insta Volume Bar Video Editing: Step By Step:
Steps 1
So as I told you to edit this video, you will need the Alight Motion application here, so if you do not have this application, then you can install it from the Play Store.
Steps 2
After installing the application, you will need an XML preset of mine which I gave you at the end of this article, so you can take it from there and import it into your Alight Motion application.
Steps 3
Now after importing the preset, you have to add your photo and then add the audio sound.

Steps 4
Also, if you want to add some particles to the video here, then I have also given the particles video, then you can also add them.
Steps 5
It is very easy to add photos to this preset. To add the photo, you have to click on the layer with the photo, then go to the option of Color and Fill, and there you will get to see a layer below, click on it. As you click on it, you will get to see all the photos in your gallery, from whichever photo you add, select that photo, then the photo will be added.
Conclusion:
I hope you all liked today’s article. If you have any questions related to this article or if you have any suggestions, then you must tell us by commenting. We will give you a reply to your question or suggestion.
All Materials.
Download NowThank You For Reading My Article.
Subscribe To Us On YouTube.
Comments
Post a Comment