Tunnel Transition Attitude Video Editing: Hello friends I’ve come with a very Trending Tunnel Transition video Tutorial. So I hope you like this Editing very much. Because these video edits are going to be the most different kind of Editing ever.
Today’s post is going to be Editing a different level of Tunnel Transition Attitude Video Editing. So let’s start our post Tunnel Transition Attitude Video Editing today without losing much of your time now.
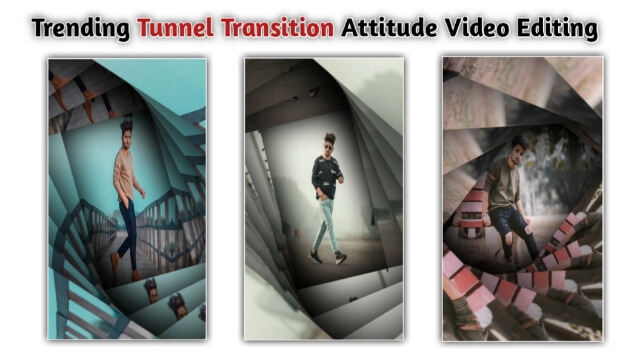
Tunnel Transition Attitude Video Editing
Friends, all of you must be using Instagram. So if you use Instagram and your Account Instagram, you must be uploading Reels videos there. So today I must make and Upload the video that teaches you Editing in this post. Believe me, all your Followers these videos are going to be very popular.
So you need the Alight Motion Application to Edit this video. If you don’t have the Alight Motion Application, you can easily Install it with Play Store.
So let’s start today’s post now.
Tunnel Transition Attitude Video Editing: Essential Steps:
- Alight Motion Application
- XML Preset 1
- XML Preset 2
Tunnel Transition Attitude Video Editing: Topic Covered:
- Attitude Status Editing
- Boy Attitude Status Editing
- Status Editing
- Learn Editing
- Alight Motion Tutorial
- Alight Motion XML Preset
Tunnel Transition Attitude Video Editing: Step By Step:
स्टेप्स १
तो इस वीडियो को एडिट करने के लिए आपको २ अलग अलग Xml Preset की जरुरत होंगी , तो उन दोनों Xml Preset को अपने Alight Motion में इम्पोर्ट कर लीजिये।
स्टेप्स २
अब आपको Real Tech Friends १ वाले Preset को ओपन कर देना हैं।
स्टेप्स ३
उसके बाद आपको उस प्रोजेक्ट में एक Group लेयर देखने को मिलेगा उसपे क्लिक करके Edit Group पे क्लिक कर देना हैं।
स्टेप्स ४
अब आपको वहां पे दो लेयर मिल जाएगी उसमे से पहली लेयर पे क्लिक कर देना हैं उसके बाद Color and Fill पे क्लिक करना हैं और कोई भी एक इमेज को इम्पोर्ट कर देना हैं।
स्टेप्स ५
उसके बाद आपको दूसरी लेयर पे क्लिक करके color and fill पे क्लिक करें और उसी इमेज को यहाँ पे सेट करे और Export वाले ऑप्शन पे क्लिक करके इस प्रोजेक्ट को Png के format में Export करें।
स्टेप्स ६
अब जैसे हमने एक इमेज बनाई उसी तरह से आपको ६ अलग अलग फोटो की Png इमेज बना देनी हैं।
स्टेप्स ७
अब आपको इस प्रोजेक्ट से बहार आकर Xml Project Real Tech Friends १.२ को ओपन कर देना हैं।
स्टेप्स ८
अब इस प्रोजेक्ट में जो पहली लेयर हैं उस क्लिक करके जो Png बनाई हैं उस Png इमेज को Import कर देना हैं।
स्टेप्स ९
उसके बाद निचे वाली लेयर पे क्लिक करके उसमे जिस इमेज की Png हैं उसी इमेज को सेलेक्ट कर देना हैं।
स्टेप्स १०
इसी तरह से सभी इमेज देना हैं और उसके बाद आपको प्रोजेक्ट में Audio Sound को इम्पोर्ट कर देना हैं और फिर वीडियो Export कर देना हैं।
Conclusion:
तो दोस्तों उम्मीद करता हु आप सभी को आज की हमारी पोस्ट Tunnel Transition Attitude Video Editing पसंद आयी होंगी। अगर आपका इस पोस्ट जुड़ा कोई भी सवाल या सुझाव हो तो हमें कमेंट करके जरूर बताएं।
All Materials
You can use this materials for practice propose Only Of This Tutorial.
Xml Preset 1 =Real Tech Friends 1
Download NowXml Preset 2 = Real Tech Friends 1.2
Download NowAudio Sound
Download NowThank You For Reading My Article.
Comments
Post a Comment