Kinemaster Birthday Video Tutorial | Learn Editing | Status Editing: So friends after a long time once again I’ve brought a very attractive Birthday video editing post. So friends, through our post-Kinemaster Birthday Video Tutorial today, I will teach you to edit a new Birthday video.
Friends I know you all love Edit Birthday videos. Why do you all like to make videos for your friends or relatives? So if you also want to edit a different kind of Birthday video for your friends, you are going to love this post.
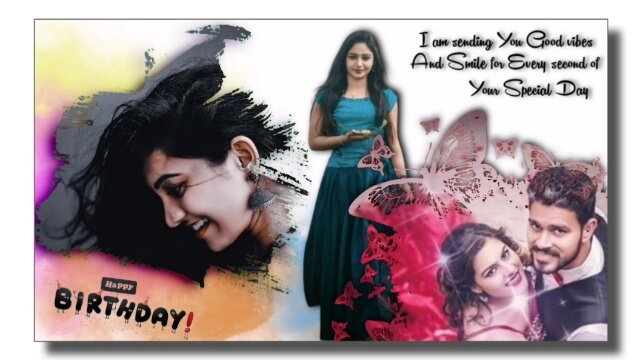
Kinemaster Birthday Video Tutorial | Learn Editing | Status Editing
Now let me give you some information about this video editing before starting friends’ posts. Friends You will need Kinemaster Application to edit today’s video. We are going to make today’s video editing from Kinemaster Application. You all know that Kinemaster makes it very easy to edit videos. That is why our Kinemaster Birthday Video Tutorial today is also going to be very easy.
So let’s start today’s post-Kinemaster Birthday Video Tutorial without losing much time now.
Kinemaster Birthday Video Tutorial | Learn Editing | Status Editing: Essential Steps:
- Kinemaster Application
- Birthday Background Image
- Butterfly Green Image
Kinemaster Birthday Video Tutorial | Learn Editing | Status Editing: Topic Covered:
- Birthday Video Editing
- Birthday Video For Sister
- Kinemaster Video Editing
- Learn Editing
- Status Editing
- Kinemaster Video Editor
Kinemaster Birthday Video Tutorial | Learn Editing | Status Editing: Step By Step:
Steps 1
You need to Background Remove a photo of whoever you want to Edit a video first to make such a Birthday Video.
Steps 2
You then have to open the Kinemaster Application on your mobile phone and do a project with a ratio of 16:9.
Steps 3
Now you have to select any one background in this project and drag it forward for as many seconds as you want to make a video.
Steps 4
Then add the Birthday background image to this project.
Steps 5
Now you have to click on the image layer background and left side chroma key option Enable. Then, in the Key Colour, Green Color have to be selected.
Steps 6
Then add a cake photo of the place where the green color is removed Birthday Video and go to the option of three dots and Sent To Back the image.
Steps 7
Now you have to import and make a look at the image that you Background Remove in this project.
Steps 8
You then have to import the image Butterfly Green into this project.
Steps 9
Now the video has to be Export.
Conclusion:
So, friends, I hope you all liked our post-Kinemaster Birthday Video Tutorial today. If you have any questions or suggestions related to this post, please comment and tell us.
All Materials
You Can use this materials For Practise Propose only of This Tutorial.
Download NowThank You For Reading My Article.
Comments
Post a Comment