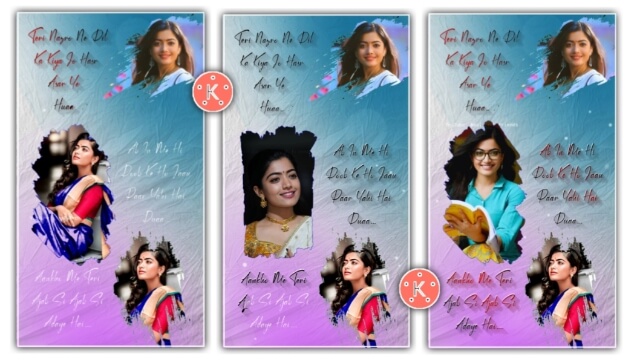
Ink Splatter Lyrics Video Editing – Itsrealtechfriends: Welcome to all of you in this article on this blog of ours today, we are going to edit the video of the amazing Ink Splatter lyrics. If you like to do video editing or if you want to edit a good video with your friend or relative, then today in this article Ink Splatter Lyrics Video Editing, I will know you the whole step-by-step how you can edit a very wonderfully wonderful lyrical video with the photos of your friends.
Ink Splatter Lyrics Video Editing
By the way, you don’t have to worry too much about hearing about video editing, here I am going to tell you a very easy way, with the help of which you will be able to make this video even if you do not get much video editing. So first of all, let’s talk about the application needed to edit the video. So here we will edit this video from the Kinemaster application. If you don’t have this application, you can install it from the Play Store.
So here you need some of my material to edit this video, they will get them which you will get at the end of this article, then you will take it from there, after that the process that has to be done will tell you to step by step in the process, all of them have to follow this process, so let’s start today’s article with more time.

Ink Splatter Lyrics Video Editing: Materials You Need:
- Ink Splash Video.
- Background Image.
- Splash Png Image.
- Particles Video.
Ink Splatter Lyrics Video Editing: Step By Step:
Steps 1
First of all, you have to open many namaste applications in your house. After opening, you have to open a new project of 1:1.
Steps 2
Now you have to add anyone’s background to this project. If you want to edit the video of the second won after adding the background, then you can not increase the length of this background.
Steps 3
I have given you an Ink Splatter video in this project, that video has to be imported. After that, wherever the Ink Splash is happening, you have to add different photos. After adding the photo, all the photos will be seen you have an option of 3 dots on the left side. To click on that option, from there all the images have to be sent to back one by one.
Steps 4
After this, now you have to click on the video layer, after this, you will get to see some more sun on the right side, from which you have to go to the option of Croma and enable it.
Now you have to export this video.

Steps 5
Now you have to come out of this project and open another new 9:16 project. In this project, now I have given you a background image, you have to import that image, for this, you have kept the materials in the stubborn folder on your mobile phone, go to that folder and select the image.
Steps 6
After you add the background image, you have to add the Splash Png image to this project. Now you have to send the image both on the top and bottom, after that in this project you have to add the particles video.
After adding the particles video, you have to click on the video layer and go to the blending option from the right side option and apply the soft light effect.
Steps 7
Now the video that you exported earlier has to import that video with your photo in this project. And after importing, this video also has to go to the option of Croma and enable the Croma Key and select a blue color in the color of the video.
Now you have to export this video.
All Materials
Download NowSubscribe To Us On YouTube.
Comments
Post a Comment