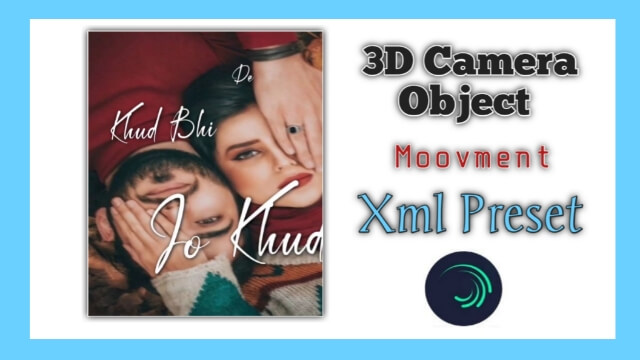
3D Camera Object Video XML Preset | Learn Editing: Hello friends, welcome to our Blog. Friends, Through today’s article 3D Camera Object Video XML Preset, I am going to talk to you about 1 new update of Alight Motion. Friends, as you all know, Alight Motion has just had a very amazing update in which 3D videos can be made very easily. In today’s article, I am going to teach you to edit 3D status videos on top of the same update.
Well, you need to work very hard to make this video. But here I am going to tell you a very easy way. With the help of which you can easily edit such a video on top of your photo either or win.
3D Camera Object Video XML Preset | Learn Editing
Friends, Here I am going to give you an XML Preset of this video project which will help you to make this video very easily by setting up just a few settings. So as I told you at the beginning, you need an updated version of Alight Motion to edit this video. So if your Alight Motion is an old version, go to the Play Store and update it.

Then friends, if you need my Xml Preset to edit this video, I’ll give you the link at the end of this article, so import it from there to your Alight Motion. After that friends, here I will tell you a few steps and follow all the steps so you will edit the video very easily.
So let’s take more time to start this article 3D Camera Object Video XML Preset of ours today.
3D Camera Object Video XML Preset | Learn Editing: Essential Steps:
- Alight Motion Application
- 3D Xml Preset
3D Camera Object Video XML Preset | Learn Editing: Step By Step:
Steps 1
So first of all, you have to open the Alight Motion app on your mobile phone and import my XML preset to your Alight Motion.
Steps 2
After importing the preset, you have to open the project with the preset.
Steps 3
Now you have to click the plus icon and add any song on which you want to make a status video here. So click on the plus icon to add and go to the audio option, where you can see all the songs on your mobile, select whatever you want.
Steps 4
Then friends you will get to see an image Layer at the bottom there. Click on the image player with it then go to Color and Fill and click on the layer on the layer you can see there.
Steps 5
Now see all the images in your gallery here Now lie down with you the image on which you want to edit the video.
Steps 6
Now friends here I have given you what you have given for lyrics and you have to mix lyrics layer with your song.
So it’s very easy you have to listen to your song and here I gave you three layers. So stop where your song ends 3 lyrics, and after you stop you have to click on the lyrics layer and if the lyrics are long, you will click on top of it to shorten it, click the time button, and from there you will see the option to shorten the layer.
To shorten it from there and if it’s long, you’ll also get the option to lengthen there, so layer you have to either make it smaller or bigger according to the lyrics of your song.
Steps 7
Now after mixing friends Lyrics Leal, you will also have to write lyrics according to your song. So if you just want to edit all the three layers, you will click on the top of the layer to edit, then below you will see an option for edit text and go to the lyrics of your song and write down all the three lyrics one by one on the edit text in all the three layers.
Steps 8
So your first part here has been completed. Now it’s very simple to write the next lyrics. You have to type and select the three lyrics that I have just edited. After selecting all three, click on the plus item you get and three-layer the copy from there.
Steps 9
Then friends you have to go ahead with this project where the lyrics you have written end then come to the next place where the lyrics come in the song, then click on the plus icon again to layer up and paste three.

Steps 10
Just as you edited the next 3 text layers, you have to edit these three text layer copies according to your song. Then copy the lyrics in the same way as you want to edit the long video and write the lyrics ahead and take as long as you want to make the video.
Steps 11
Then friends, if your video is complete, export the video as if exporting will be saved in your video gallery.
Conclusion:
Friends, I hope you all liked our article 3D Camera Object Video XML Preset today. Friends, if you ask any questions related to this article, then if you have any suggestions, please comment and tell us how you liked this new update with the 3D effect of Elite Motion.
Subscribe To Us On YouTube.
All Materials.
You can use These Materials For Practice Propose Only Of This Tutorial.
Download NowThank You For Reading My Article.
Comments
Post a Comment