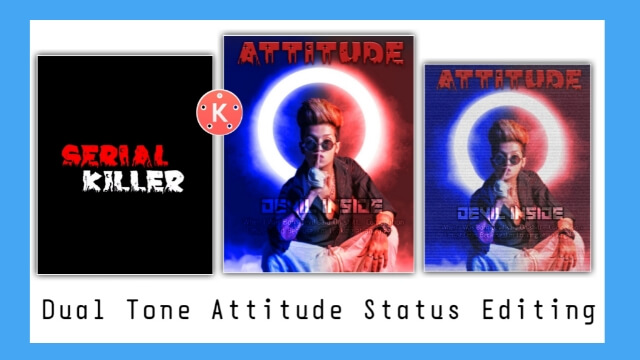
Dual Tone Attitude Status Editing | Learn Editing: Welcome to all of you on our block and on today’s article Dual Tone Attitude Status Editing we are going to edit a different level of Attitude Status video. Friends, here I tell you with confidence, so you have never seen anything here that I edited and taught.
So very attractive today that this video of ours is going to happen so if you also want to edit a video that I have given in Thumbnail. So do read this article today in full and follow all the steps you used to read in this article in any state.
Dual Tone Attitude Status Editing | Learn Editing
So before starting the article, let me tell you first that our video editing today is going to be edited by Kinemaster Application. If you don’t have Kinemaster Application, you have to go to the Play Store and install it on your mobile phone. After that, you will also need some of my Materials to edit such videos. Which I will provide you at the end of this article in Link.

So let’s start this article Dual Tone Attitude Status Editing of ours today, not losing much time now. So first of all, as I told you earlier, you have to download my Materials, then open the Kinemaster Application on your mobile phone. After opening, follow all the steps I tell you in the following steps.
Dual Tone Attitude Status Editing | Learn Editing: Essential Steps:
- Kinemaster Application
- Ring Light Background Video
- Attitude Text Png
- Attitude Quets
- Audio Sound
Dual Tone Attitude Status Editing | Learn Editing: Topic Covered:
- Attitude Status Editing
- Attitude Shayari Video Editing
- Kinemaster Video Editing
- Status Editing
- Learn Editing
Dual Tone Attitude Status Editing | Learn Editing: Step By Step:
Steps 1
You have to open the ratio of 4:5 after opening the Kinemaster Application.
Steps 2
Now you have to add light effect videos, smoke videos, and text videos one by one to this project. To add, you have to click on the layer option from where you will see the media option at the top. As soon as you click on the media option, all the folders in your gallery will be open, out of which the winning folder contains all three videos, go there and add all the three videos one by one.
Steps 3
Now go to the point where the text video ends and after going there you have to remove the background and add the photo on whose photo you want to make the video.
Steps 4
Now, after adding the photo, you have to click on the layer again, click on the media and go to the background images and select the orange color image that is thereafter going to the background image and add it to this project.
Steps 5
Now click on the image and go to the cropping option and Enable the Mask and increase the Feather, then set the image to half the Frame in the entire Frame.
Steps 6
Now click on the player of this image and click on the three dots option on the left side and create a duplicate layer of the image.
Steps 7
Now click on this image layer to go to the color option and select its color blue color and set it on the other side so that the dual-tone color will be set in your video.
Steps 8
Now that you have to add audio sound to this video, click the audio option to add the audio sound and select the audio that I have given and add it to the project.
With this, this video of yours will be ready. Now you have to play it once and watch the preview, if it’s made perfectly, Export the video.
All Materials.
You Can use these Materials For the Practice Propose of this Tutorial Only.
Download NowThank You For Reading My Article.
Subscribe To Us On YouTube.
Comments
Post a Comment