Own Photo 3D Video Editing | Learn Editing: So guys I’m spot on with another new post. Friends, In today’s post Own Photo 3D Video Editing, I’m going to tell you the Tutorial of how you can make ३D videos with my own photo.
Friends this video editing is currently going on in a very Trend. So I believe you must make this video and if you Edit this video with your partner’s photo, believe me, your partner will be very happy with you.
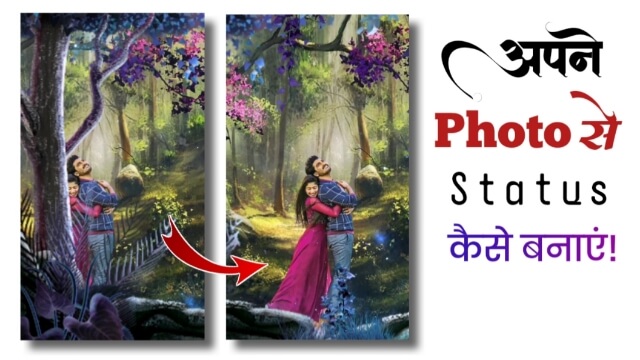
Own Photo 3D Video Editing
So if you want to Edit such a video, Follow all the steps described in this post.
So let’s start today’s post-Own Photo 3D Video Editing without losing much time now.
Own Photo 3D Video Editing | Learn Editing: Essential Steps:
- Alight Motion Application
- Forest Background Image
- Tree Png Image
Own Photo 3D Video Editing | Learn Editing: Topic Covered:
- Alight Motion Editing
- Status Editing
- 3D Video Editing
- Learn Editing
- Alight Motion Video Editing
Own Photo 3D Video Editing | Learn Editing: Step By Step:
Steps 1
You need to Background Remove the Image the photo you want to add to this video to make this video.
So you can use the Remove Bg website to remove the Background.
Steps 2
Now you have to open the PixalLab on your mobile phone and import the image Forest Background.
Steps 3
You then have to add the photo you Background Remove in this Image and set it correctly and save the image to the Ultra Quality.
Steps 4
Now you have to open the Alight Motion Application after saving the image.
Steps 5
Then import the image you’re created from your PixalLab Image to a project with a ratio of 9:16.
Steps 6
Now you have to click on this image layer and move the left side and go to the Endpoint of the video and move the image Right Side by going to the Move And Transform Option.
Steps 7
Now you have to Import Forest Background Image in this project and put that background on the top of the Image Layer.
Steps 8
Then you have to process Step 6 on this image layer also.
Steps 9
Now you have to import any song in this project and watch the Preview of the video, if everything is made right, Export the video.
Conclusion:
So friends, hopefully, all of you would have liked our post Own Photo 3D Video Editing today. If you have any questions or suggestions related to this article, please comment and tell us.
Subscribe To Us On YouTube.
All Materials.
You can Use These Materials For Practice Propose Only Of These Tutorials.
Download NowThank You For Reading My Article.
Comments
Post a Comment